
Hello crafty friends! Today I’m sharing a card that I made after participating in Altenew Academy’s Celebration: Stencil Techniques course by Laurel Beard.
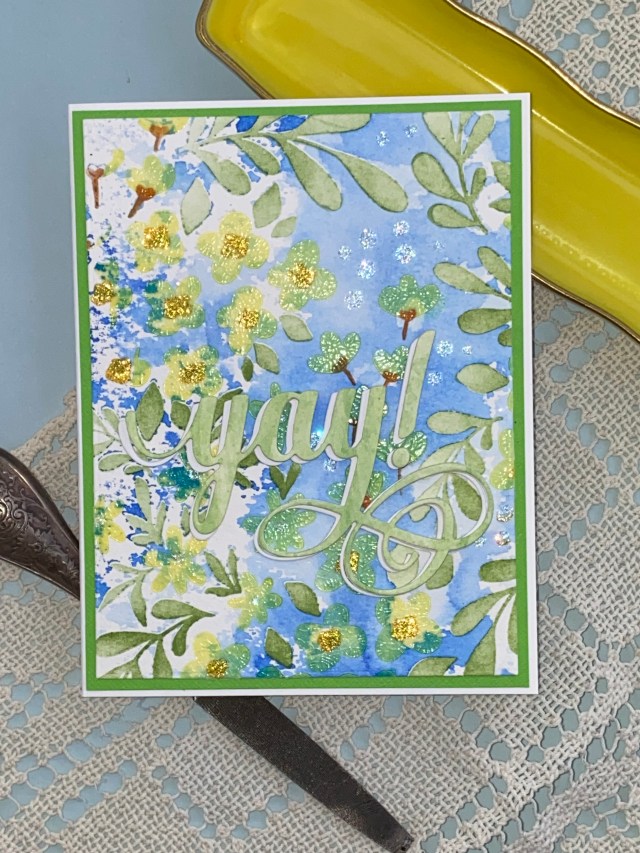
This was a fun class, and I really enjoyed combining several of the techniques discussed during this class into this card. In fact, I absolutely love this card, and it’s probably the first card I’ve made for myself, hence the “yay!” sentiment. I just love the watercolor effect that I was able to achieve with the the Blooming Flower Bed stencil set from Altenew.
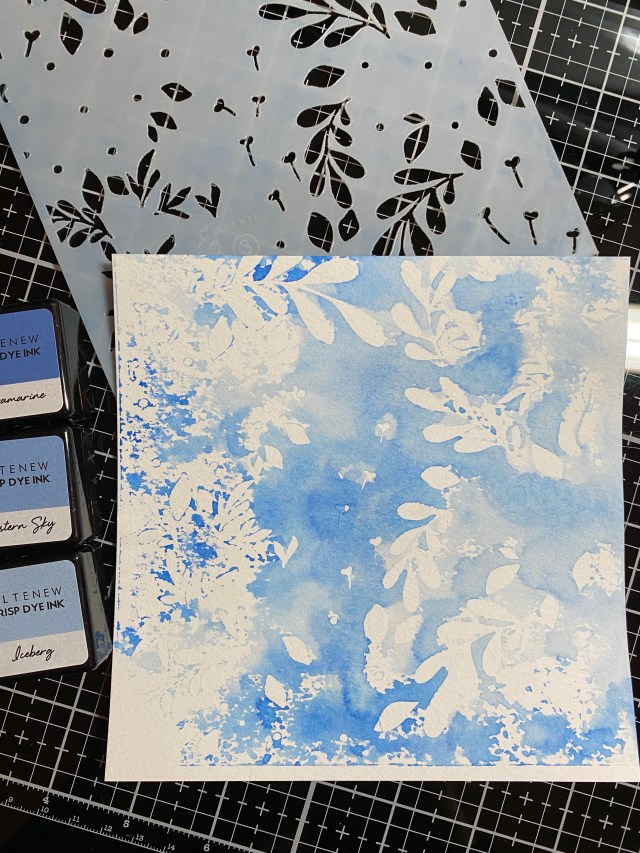
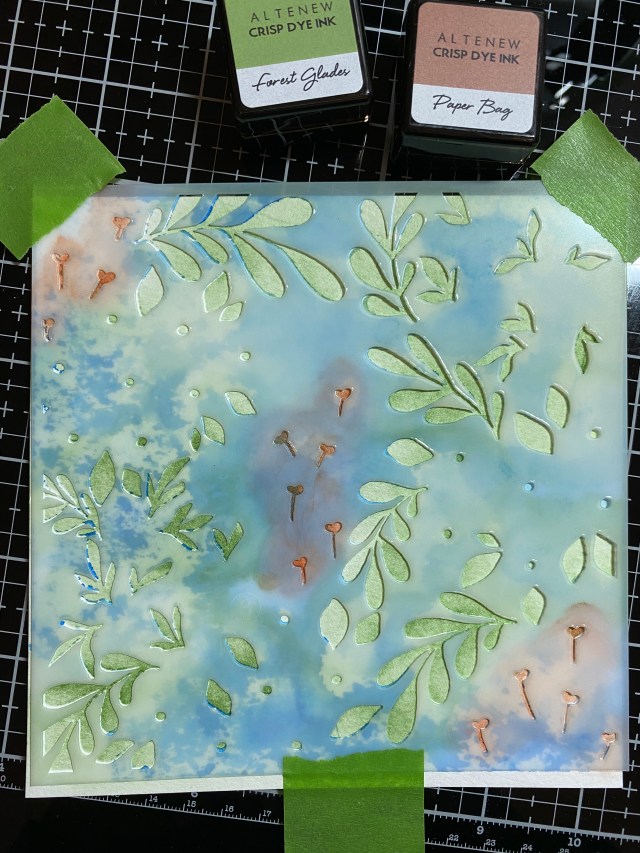
I wanted the background to be blue, so I flipped over the last stencil, nunmber 3, the one with the leaves, and carefully applied 3 different shades of blue from the Lapis Lazuli mini ink cube set. I used the direct method from ink pad to stencil, pressing down to release some ink, but making sure not to catch any of the stencil cutouts on the ink pad. I randomly added Ultra Marine, Eastern Sky, and Iceberg until I felt I had covered the stencil. Then I misted the stencil with water, let the colors flow together, flipped it back over, and laid it on top of a piece of watercolor paper that I had cut to the stencil size (6×6). I put a piece of paper towel over the top, and pressed lightly, to get the ink off of the stencil and on to the paper. I carefully lifted the stencil off the paper, and thought, there’s a hot mess! But, as they say, you get what you get, and you don’t throw a fit! The results are the first photo above. I cleaned off my stencil, and then placed it on the paper again, this time right side up, so I could blend on the leaves and the flower stems. I used Forest Glades green and Paper Bag.
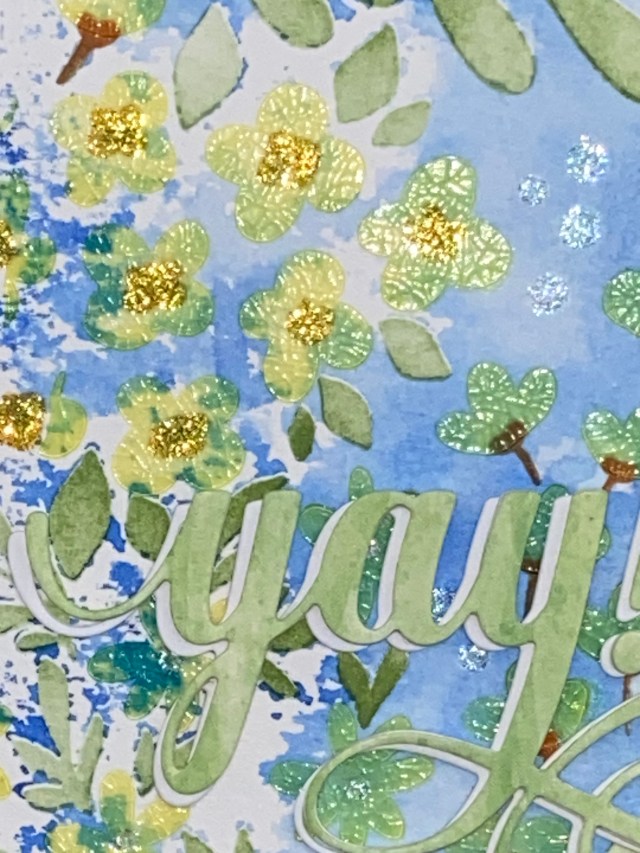
I went back to stencil number 1 to do the flowers. I smooshed some Warm Sunshine ink onto my craft mat, and then added Distress Crackle Paste in Translucent, to color the paste yellow. I applied this through the stencil in a light layer, and then waited for it to dry. For the last stencil layer, I added yellow and clear Stickles glitter glue through the stencil. I picked part of the design, and cut a 4×5.25 inch rectangle for my card front, layered a piece of green cardstock behind it, and attached it to a white A2 card base.
I just loved how this background came out… very loose and almost Monet-esque. I chose the “yay” sentiment, cut from some green patterned paper, layered with 2 white diecut layers, and offset with another white layer.
The course inspired me to use several differnet stencil techniques, including stamping with the stencil to achieve the watercolor background, and using texture paste which I first colored with ink. Thanks for stopping by my blog, I appreciate you!
Altenew products used:
Bloomin Flower Bed Stencil Set
Fancy Yay Die
Crisp Dye Ink Mini Cube Sets – Lapis Lazuli, Green Fields, Summer Afternoon
Also used:
Distress Crackle Paste, Translucent
Stickles

WOW! This is absolutely WONDERFUL!!! Loving the look. The colors took beautiful too!
LikeLike