
Hello crafty friends! Today I’m sharing a card that I made after participating in Altenew Academy’s Easy Ink Blending Techniques course.
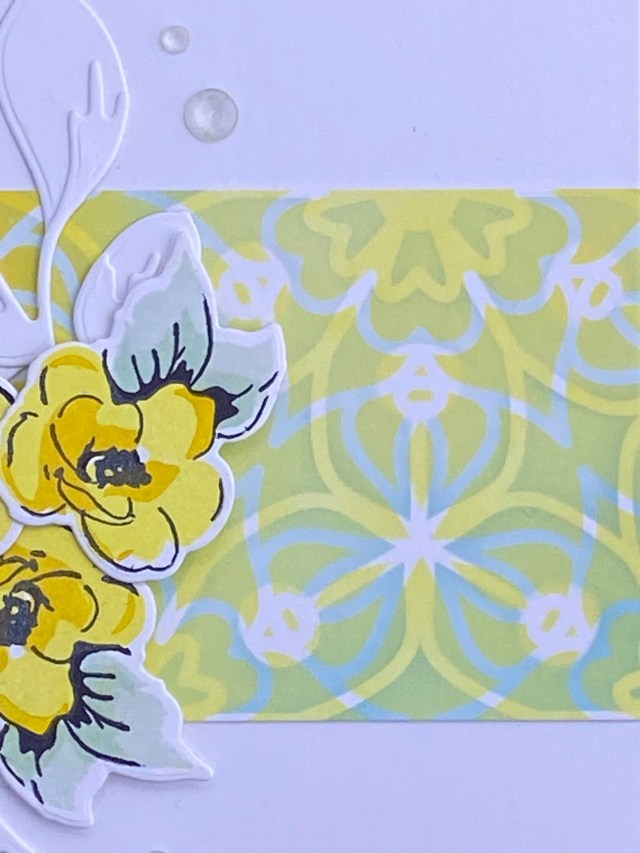
I had just purchased the Layered Medallion Stencil Set from Altenew, and wanted to try it out. This is a nice larger stencil, 6×6 inches. I thought I would only use a small portion of it on my card, but I went ahead and blended the whole stencil (almost) on a half sheet of Neenah Classic Crest Solar White cardstock. This is my go-to white cardstock for doing anything other than watercolor techniques. I wanted to use some lighter color inks for blending, as there are two stencils in this set that layer on top of each other. Parts of the layers will blend together; some parts will show either the top or bottom color, or the cardstock color. I picked a Tim Holtz Distress Oxide ink pad in Speckled Egg to start with. I only have Altenew inks in the mini cubes, and I find it easier to fill my brush with color from a larger ink pad. I also wanted a break from Christmas and winter colors! I chose to use blending brushes, because they’re more precise when working with a stencil than using a foam applicator. As I began blending the Speckled Egg through the first stencil layer, I thought it was a little lighter than what I wanted. I wanted to make sure there would be nice contrast, so I decided to blend Salvaged Patina on the other half of the first stencil layer, gradually blending the colors together in the middle.

For the second layer, I went with yellows, knowing the places where they overlap will become green. I used two Distress Oxide yellows: Squeezed Lemonade and Mustard Seed. I blended them 90 degrees different than the blues. For example, I blended the blues from lighter to darker, right to left, and then I blended the yellows from lighter to darker, top to bottom, This gave me lots of options for the piece I wanted to use on my card.
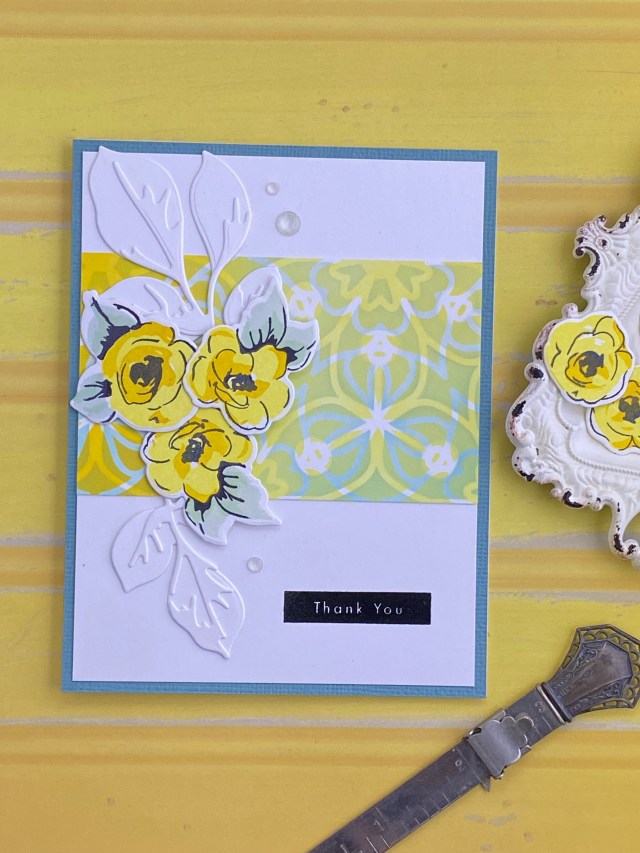
For the focal point, I stamped some yellow flowers using the Painted Flowers stamp set. For the flower leaves, I used the new Fresh Dye Ink Mini Cube ink pad set in Frosted Foliage. I thought these colors complimented the green colors in my blended piece. I wanted the flowers to stand out a little more against the stenciled background, so I used some tone on tone white leaves that I cut from the Jumbo Garden Picks die set. The sentiment is from the Best Setiments stamp set. This was stamped in black ink directly on the card front, and then embossed in detail clear embossing powder. I used a tape runner to attach the stenciled strip to the card front, glued down the leaves, and used foam dimentional squares behind the flowers. The card front was mounted onto a teal blue panel to compliment, and a few clear faceted gems were added for interest.
The course inspired me to really take my time while I was doing my ink blending. It also inspired me to experiment with layering colors while blending, and to try something different with my color combinations. I also was more aware of how the ink blending looks different after it has a chance to dry. In my experience, it did look quiet a bit better. This is a great reason to take your time, use many lighter layers of ink, and have patience when blending.
Altenew products used:
Painted Flowers stamps and coordinating dies
Best Sentiments stamps
Jumbo Garden Picks Layering Die Set
Layered Medallion Layering & Background Stencil Set
Fresh Dye Ink mini cube set in Frosted Foliage

Beautiful work, lovely choice of colors too! Thank you so much for submitting your lovely work to the AECP assignment gallery.
LikeLike